Introduction
Termux has a lot of customisability. You can edit the behaviour of the touch keyboard, volume keys and various panels. Creating new sessions and terminals is even easier.
Open Termux
- Navigate to the Termux app on your Android Device.
-
Open the app
Excessive Loading?
If you are opening the app for the first time then it may take some time for it to load all the dependencies required for the app!

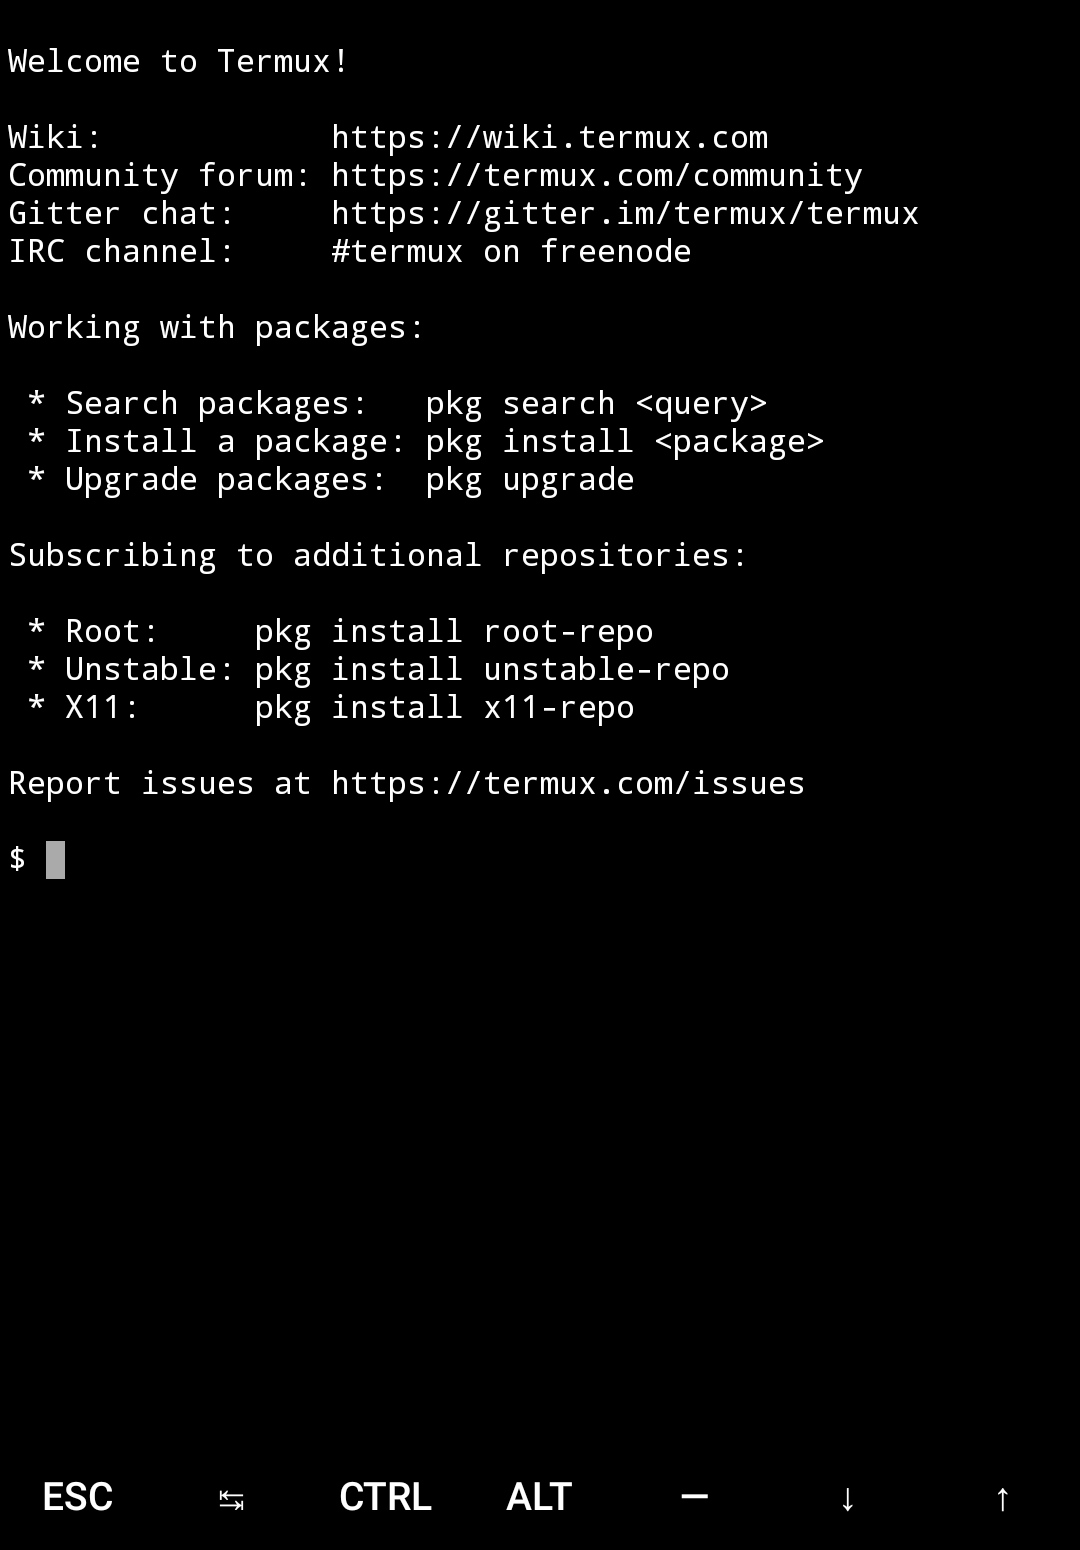
The app should look something like this when it loads

Adding Custom Configurations
You can easily change the behaviour of the termux application by defining properties for it in a key=value style method.
For doing that, you first need to create a directory1 named .termux
Example
$ mkdir $HOME/.termux
Did you know?
-
On OS X machines, the files which start with
.are hidden. These aren't shown when you type inls. To show these files you have to use the-aflagExample

The directory and files are just for an example
-
The
.represents the current working directory. - The
..represents the parent directory ~/represent the home directory. If you are ever lost, just type incd ~/and you will be at the home directory. You can also docd $HOME/for the same.
After doing this, you need to create a file named termux.properties in ~/.termux directory.
You can do this with the following command:
Example
$ touch termux.properties
Writing the configurations
You need a command line tool to write on files directory, if you don't have root access (assuming most of you don't).
You can use nano, vim, emacs, etc. for this. For the sake of this guide, we will be using nano because of simplicity!
Install nano
$ pkg install nano
Opening the file in nano
To open a file, you just do nano <filename>. Nano will create the file if it doesn't exist and if it does; then just opens it
Example
$ nano ~/.termux/termux.properties
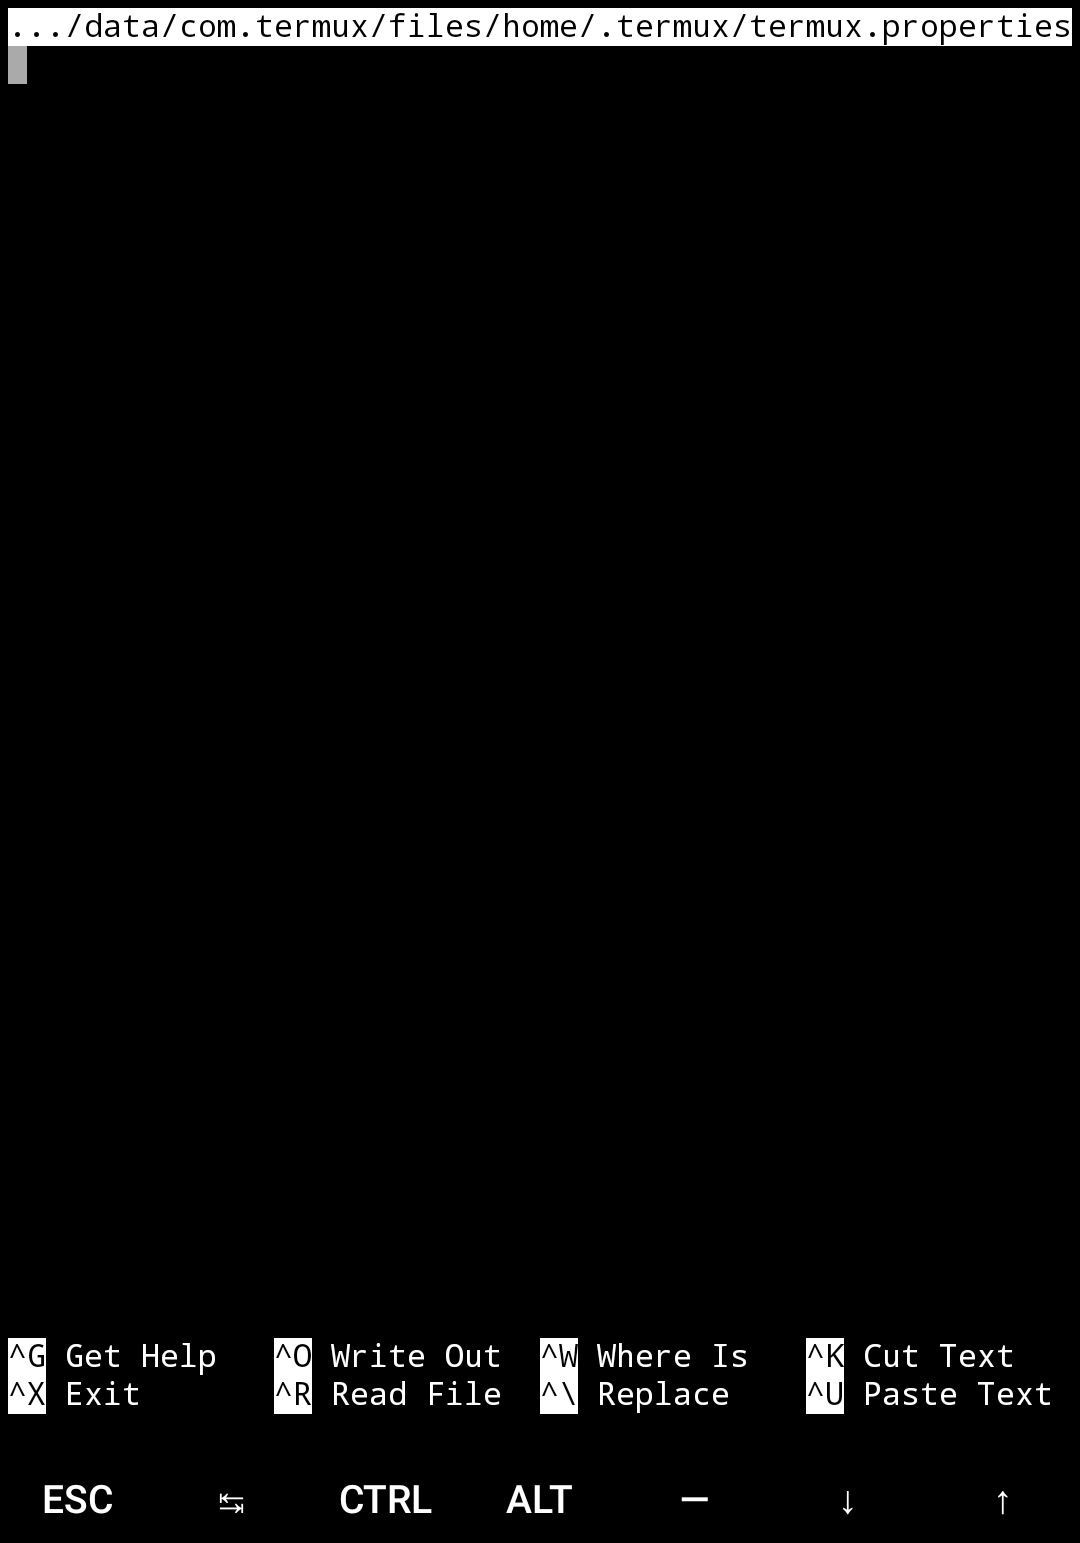
It should look something like this:

Adding configurations
-
In computer language, folders are called directories. ↩